
Last month I prosied that I’d redo that post about Ben’s birthday cake. I tried to do the tutorial in Mac Pages but it didn’t like my graphics and made them super tiny. Fail.
So this is round two.
Here was Ben’s bicycle themed birthday cake:

It’s a chocolate ganache torte with lemon buttercream on the outside and chocolate bicycles ‘round the bottom.
Here were the decorations - many of them made from the same paper (and with the same colors) as the invitations:

A detail of our chocolate bicycles:

This cake was super easy to make because I didn’t actually make it; it was all assembly. I took two frozen Trader Joe’s Chocolate Ganache Tortes and stacked them together.
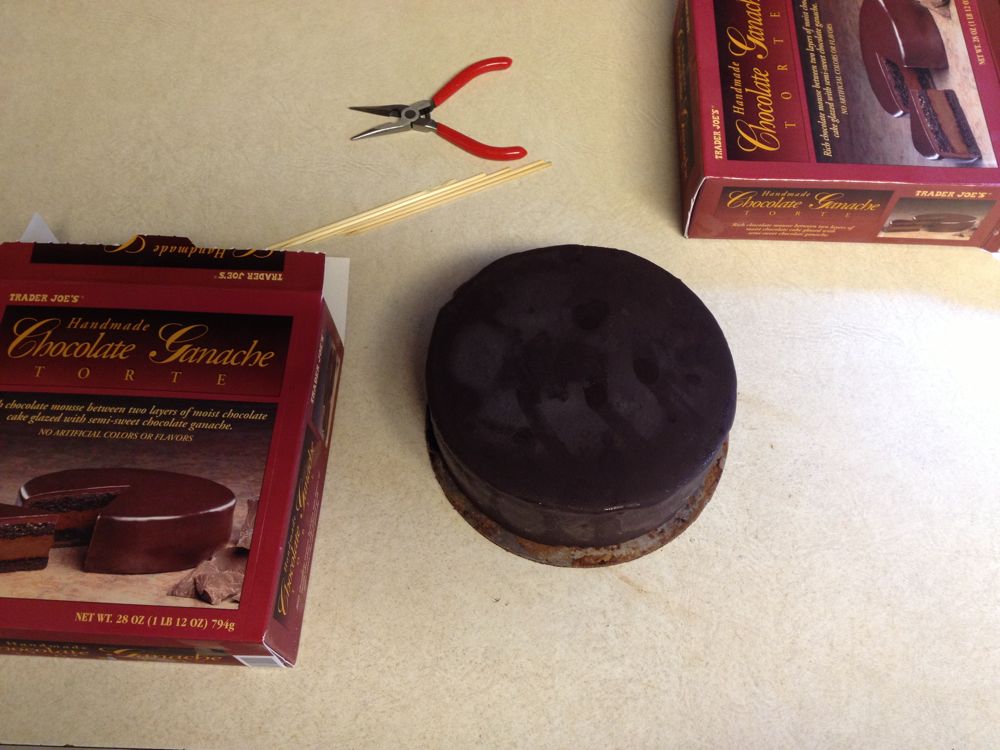
I put a few bamboo skewers in the bottom on to provide a little structural support for the top one.

With the tortes still frozen, I added the lemon buttercream.

Now comes the fun part: the bicycles stencils! I printed out the bicycle from Ben’s invitation and slid it under a piece of parchment paper (I’m sure wax paper would also work). Tape down the paper on three sides so it’s taut - this makes it easy to see the image underneath. Melt your chocolate (I used good quality chocolate but semi-sweet chips would work just fine) in the microwave and then more the whole shebang into a pastry bag (or a ziplock bag with a pastry tip) and pipe over the image (onto the parchment paper).

Let cool for a bit: you want the chocolate to still be some-what flexible but won’t smear if you touch it.

I did four bicycles at once, simply moving the image to a blank spot on my parchment paper.

Cut loosely around the chocolate image.

Place the chocolate against your cake and carefully peel of the parchment paper backing.

It’s the trickiest part. Going slowly is key.

Ta da!

Enjoy.

Here was our final spread:
