This was a very nice relaxing weekend for both Chris and I. Chris worked feverishly on his motorbike and I got to do all sorts of projects that I’ve been dying to do all summer. First on my list was candlemaking. I save all the used “ends” of candles from around the house and then melt them down and make new candles when I have enough. I’m one of those people that loves to have lighted candles in the house so this is a way to cut down on the number that I buy in the store.
My parents used to make candles from beeswax when they had bee hives. Those have the most delightful smell in the whole world; there isn’t a fake scent anywhere that beats fresh beeswax.
Mine don’t smell as good as those but I do only use a small amount of vanilla and not any of those gross fruity/flowerly scents.
Candlemaking is really quite easy.
Materials:
-Old Candle Stubs
-Fresh Wicks
-Candle Mold
-Putty for Candle Mold Holes
Optional:
-Scent
-Coloring
Here are the steps:
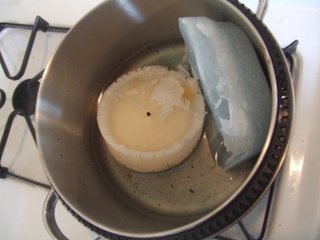
Collect your candle stubs and place them in an old (not used for food) pan. I set up a double boiler system but you can melt them straight off the burner, too. The candles will melt faster if you chop them up into smaller bits. I usually stick mine in the pot will all the bits of wick still attached since you can always fish those out later.
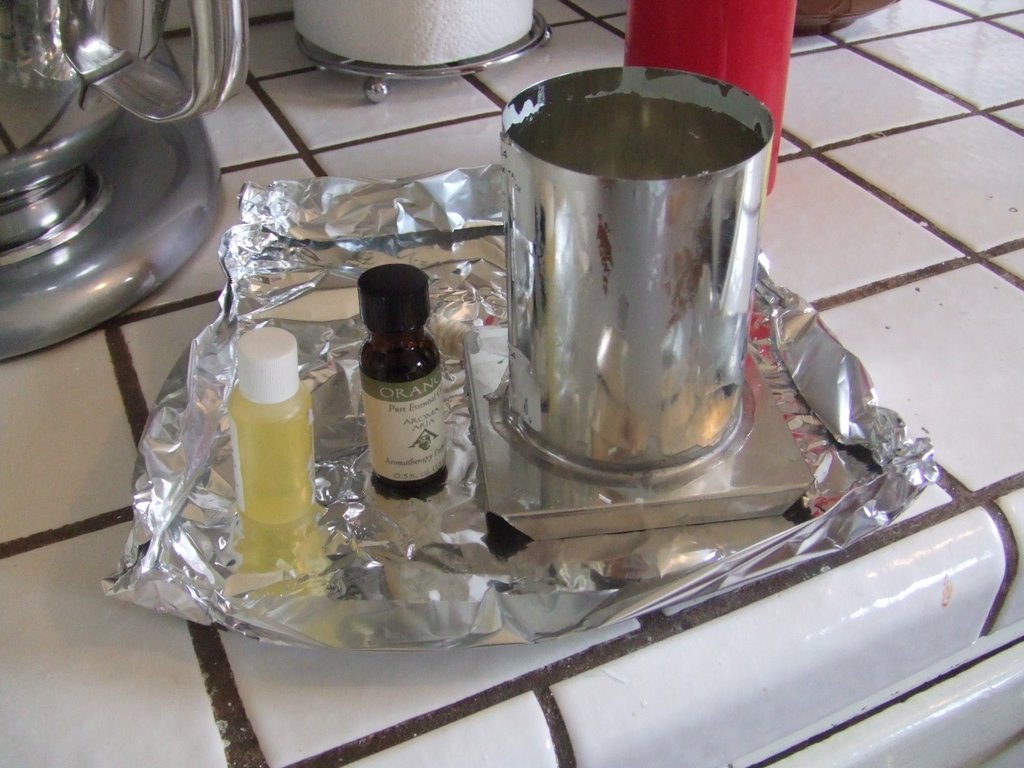
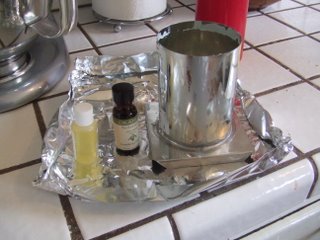 You will need some kind of candle mold. I have one that is specially formatted for this purpose; however, I used to use paper cups and just peel the paper away when the wax had dried. Also, if you have a candle that comes in a glass jar, you can always re-use those when the candle is spent. Scents and colors are optional. I would recommend buying the specially formulated candle scents. They work better. Also, food coloring does not work for coloring candle wax. You have to buy the color. Or, if you’re too cheap like me, you can always melt down a small colored tea candle. It’s usually cheaper and you really don’t need much coloring.
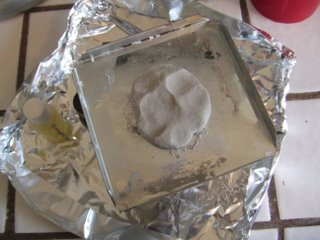 Make sure your mold doesn’t have any holes!! Many professional candle molds have a hole in the bottom. This needs to be covered with a special putty/clay (you can buy this at Michaels). Covering the hole with duct tape does not work!
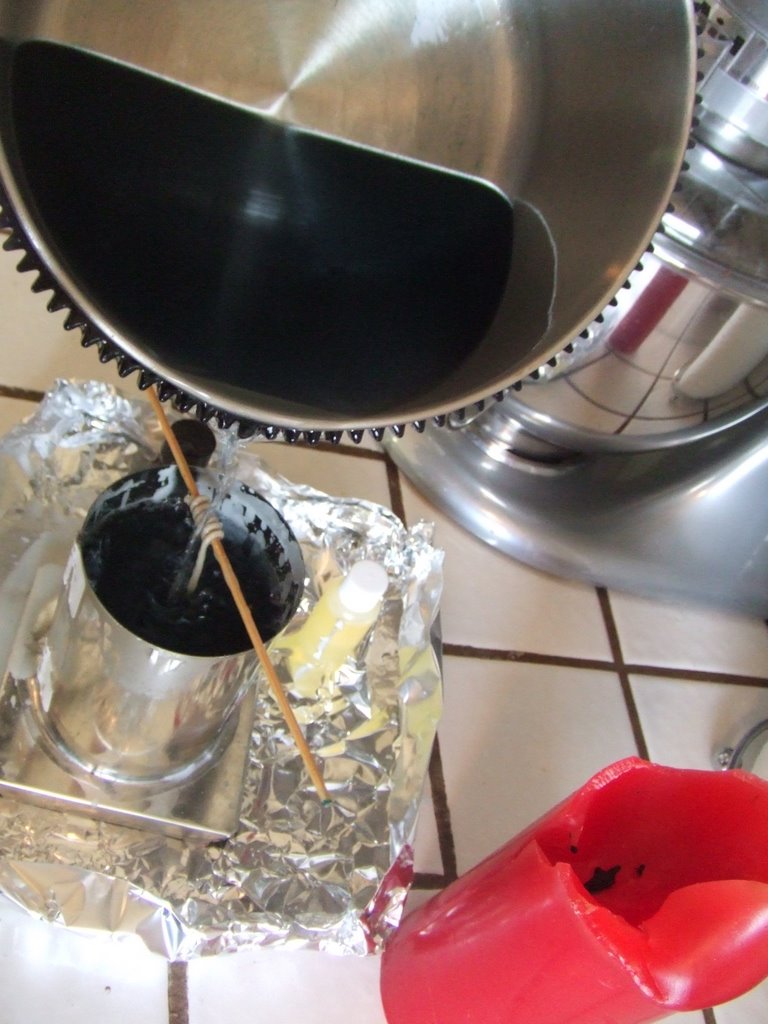
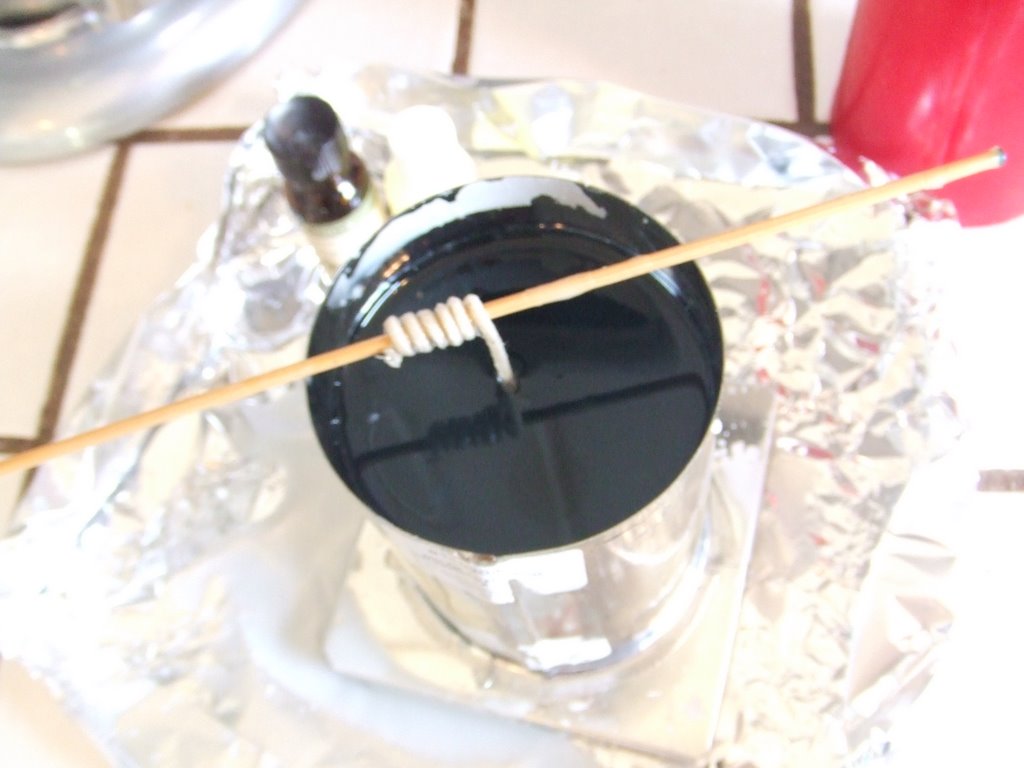
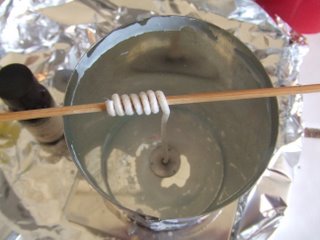 Try to get your wick as straight as possible in the candle. Mine have been stored in a funny position so it’s difficult for me to have a straight wick. I usually curl it around a stick at the top to keep it in position.
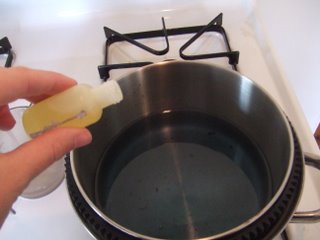 When the wax is melted, it's ready to be poured into the mold. Add scent and coloring after the wax has melted and just before its poured into the mold.
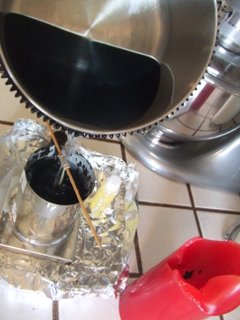 Pour liquid wax into the mold.
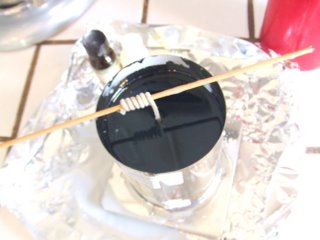 I usually fill the mold about 1/2 an inch from the top.
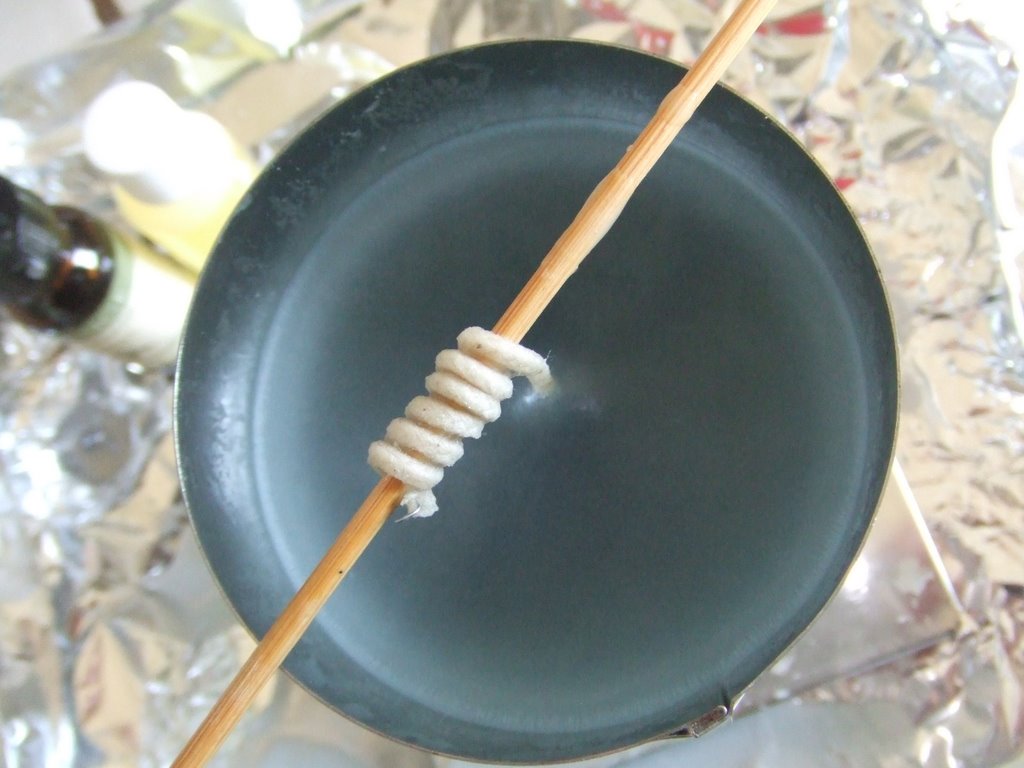
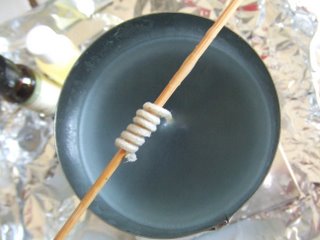 Candles take a surprisingly long time to harden. Here you can tell that the edges are hardening more quickly than the middle.
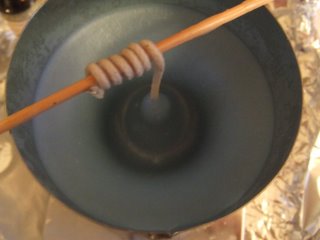 A candle will form a trough in the center around the wick as it hardens. Reserve a bit of wax for filling in the trough.
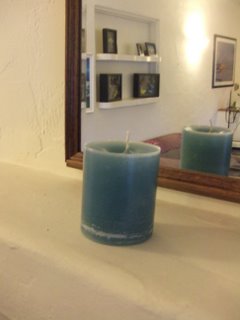
The finished product!